Ever since Apple has announced the Swift programming language, iOS app developers have found a brand new means of developing innovative and functionally rich applications. If you are an iOS app developer then Swift can turn to be a major tool for building apps that stand out from t he crowd. Thanks to the tools and techniques available with Swift, you can now enjoy complete control over the server back-end that is powering your swift-based iOS application. One such remarkable option available for app developers is Parse.com. This blog offers you an understanding of how you can connect your Swift application to Parse.com. So, let’s get going with the same.
A brief on Parse.com
Parse is basically a cloud app platform that allows you to add a scalable and highly robust back-end for launching a full-featured mobile application. Available for popular mobile operating systems such as: Windows Phone 8, Windows 8, Android, iOS, OS X etc. Parse allows you to manage your mobile or web apps without the need for getting into the hassles of server management. In-built features such as: social media integration, push notifications, data storage and flexibility of adding custom logic to app’s back-end have added to the popularity and demand of Parse.
Now, it’s time to take a dive into the steps involved with connecting Swift application to Parse.com
Step 1- Create an account with Parse.com
Go to parse.com and create a free account using the sign up form. If you already have one, then you may opt for signing up via your Facebook, Google or Github account. Once you have logged in successfully, you’ll be presented with a form for creating the application. You can name this app as MyData and in the ‘Company Type’ dropdown, you may select ‘Individual Developer’. Once you’re done with entering your preferences, click on ‘Start Using Parse’ blue button. With that, the back-end server for your app gets created.
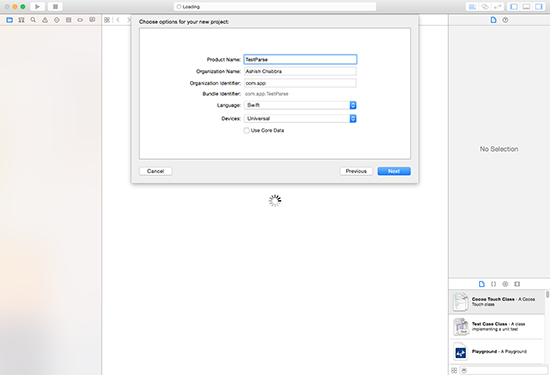
Step 2- Set up the Xcode project
As per this step, you’ll need to create a single view application and ensure that ‘Swift’ is selected as the programming language. After creating the application, click on Project-> Build Phrases-> Link Binary with Libraries and add the below mentioned frameworks:
- Foundation.framework
- CoreLocation.framework
- CoreGraphics.framework
- libz.dylib
- QuartzCore.framework
- Security.framework
- StoreKit.framework
- SystemConfiguration.framework
- MobileCoreServices.framework
Step 3- Add Parse.com iOS SDK to the project
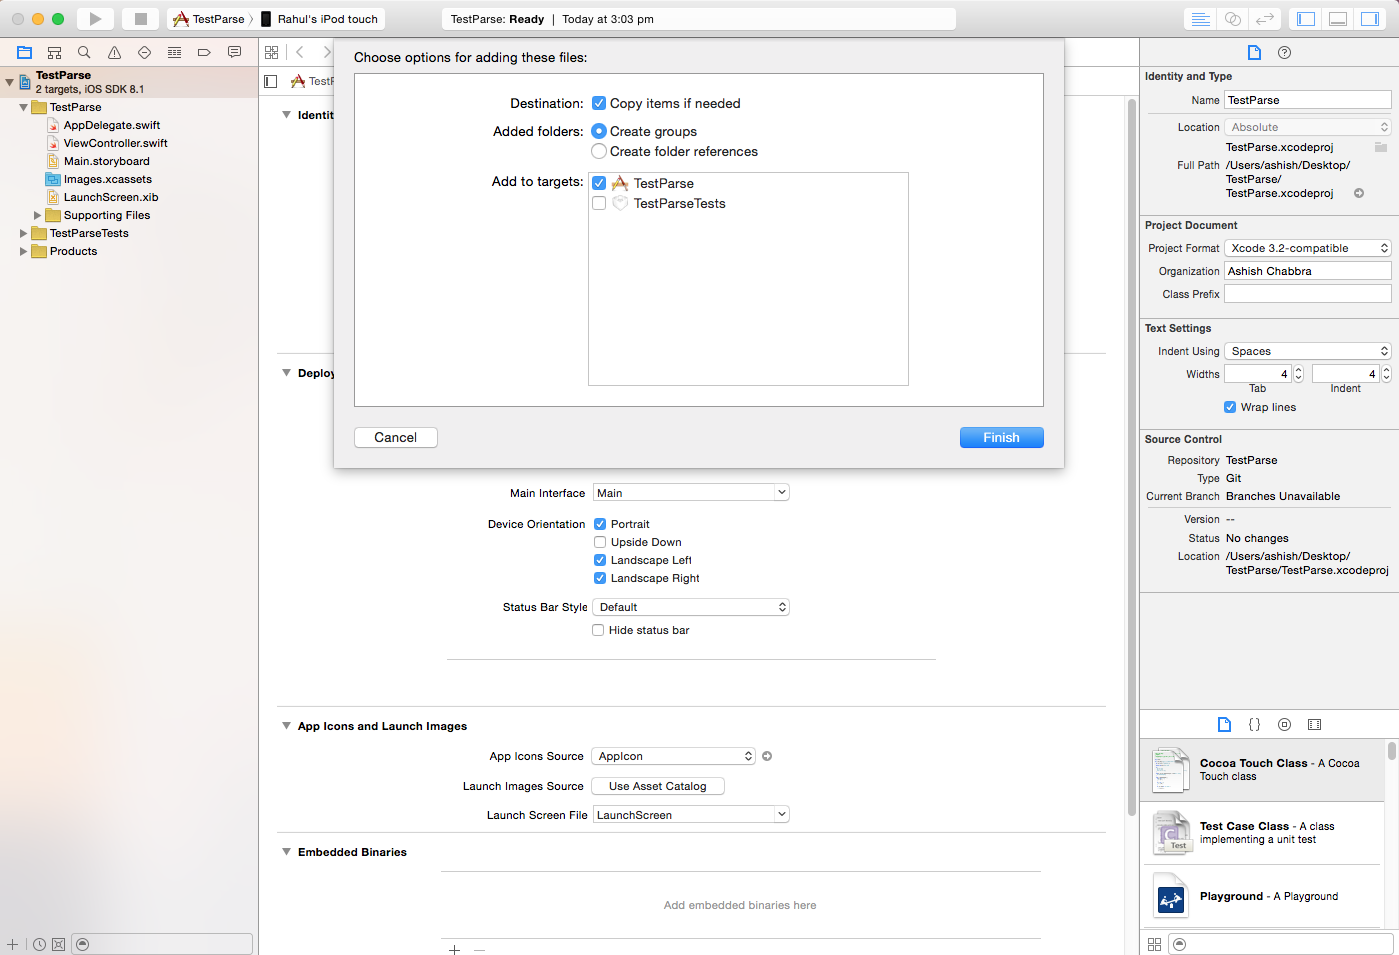
Now, go to https://www.parse.com/downloads/ios/parse-library/latest and you can start downloading Parse.com iOS SDK. Once you’re done with downloading and uncompressing the files, drag the file folder into the project navigator area of Xcode. The screen displayed here will look like this:
Here, select the check-box for “Copy items if needed” and finally click on ‘Finish” button.
Step 4- Create a bridging header
You need to do this in order to connect the Swift app to Parse.com. Here, just create a new file(of Objective C type) and name it as myDataCustom. Next, you’ll be prompted to configure the Objective-C bridging header. Click on the ‘Yes’ option to add new file to the project. After this, click on the file TestParse-Bidging-Header.h and you’ll see a comment as below:

Use this file to import your target’s public headers that you would like to expose to Swift
Just below this comment code, add an #import to inform the project that now it needs to use the Parse iOS SDK. For this, simply add the below line to the TestParse-Bridging-Header.h file:
#import <Parse/Parse.h>
Step 5- Get security keys from Parse and save data to Parse service
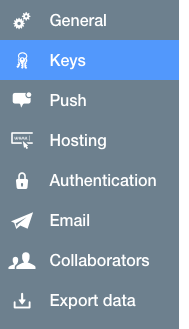
In this step, go back to Parse.com dashboard and select the ‘Settings’ option. The page displayed thereafter would contain another menu where you need to click on the ‘Keys’ link. The screen-shot for this is shown below:
A number of application keys would be shown here but you just need to select the Application ID and Client Key. After getting both these keys, go to AppDelegate.swift available in Xcode and change the below function
func application(application: UIApplication, didFinishLaunchingWithOptions launchOptions: NSDictionary?) -> Bool {
// For customization after launching of application.
return true
}
to
func application(application: UIApplication, didFinishLaunchingWithOptions launchOptions: NSDictionary?) -> Bool {
Parse.setApplicationId(“app_key”, clientKey: “client__key”)
// For customization after launching of application.
return true
}
Also, make sure to replace my_application_key and my_client_key with the ones received from Parse’s official website.
In addition to above, also add the below code just beneath the modified function:
var object = PFObject(className: “data_class”)
object.addObject(“120″, forKey: “radius”)
object.addObject(“social”, forKey: “category”)
object.save()
With that you complete the process of connecting your Swift application to Parse.com service.
Final Words
Hope you’d have enjoyed going through the steps covered in this post. So, go ahead and follow them for integrating Parse.com with your Swift application.
Author Bio:
Rick Brown is an experienced iOS developer for Mobiers Ltd – a reputed iPhone app development company. In case, you are willing to explore more about this development platform, get in touch with him.